Simple and advanced searching
Note: The Wise Console is still in development, and some features may not yet be available.
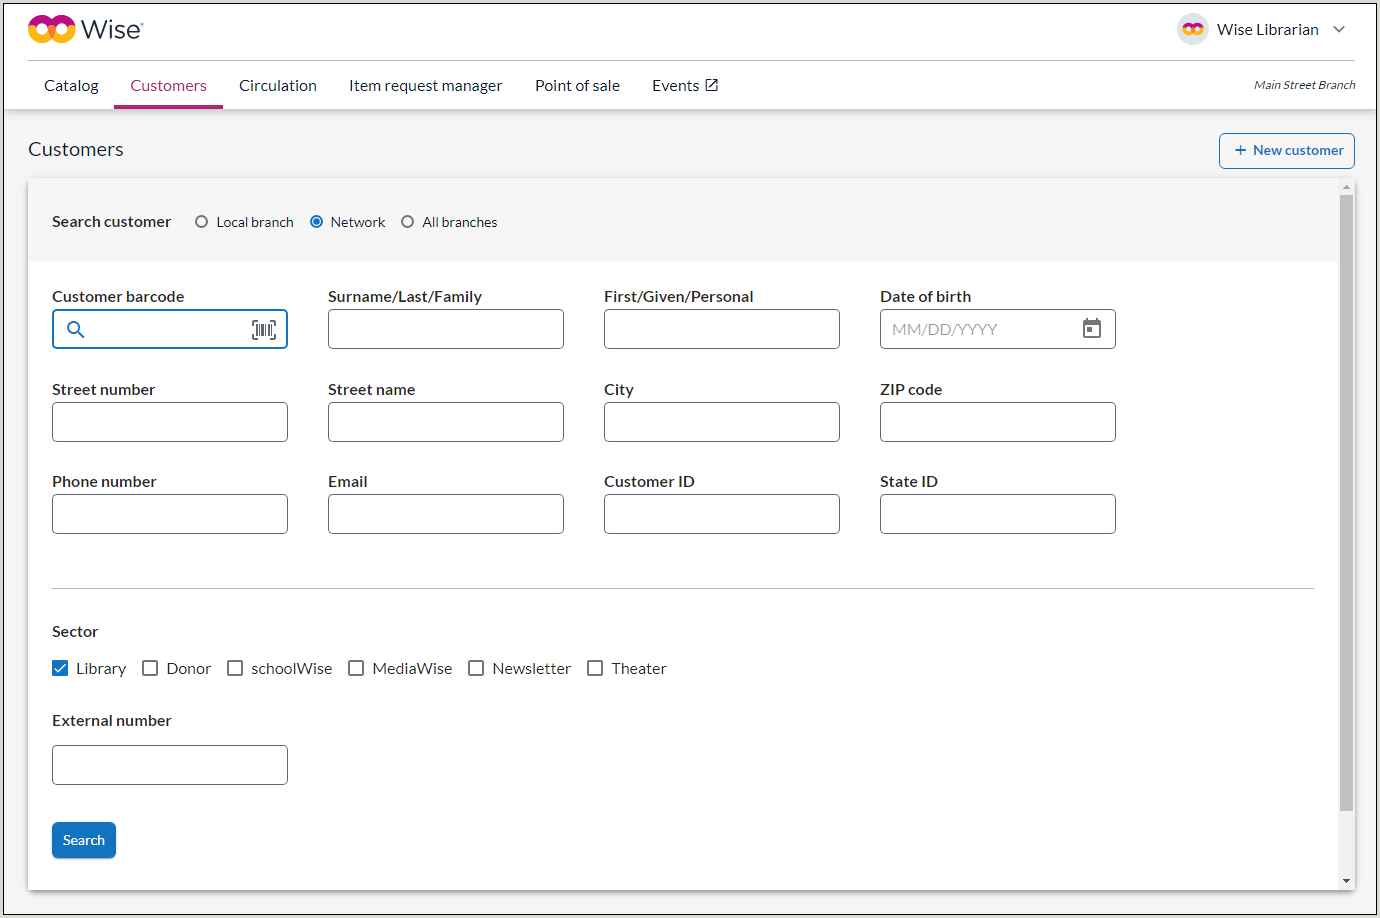
There are two search options available when searching for customers in the Wise Console. The simple search option allows you to search for a customer when you have their barcode number or last name available. The advanced search option allows you to perform a query using one or more search options or fields.
Search options
Use the radio buttons to select the appropriate search level. Select from the following:
- Local branch - Searches all customers within the branch you are signed in as
- Network - Searches all customers within your network
- All branches - Searches customers from all branches in the system
Simple searching
To search for a customer using the simple search option:
- In the top left menu of the Wise console, click Customers. The Customer management screen opens.
- Using the radio buttons, select the level at which you would like to perform the search. The following levels are available:
- Local Branch - Searches all customers within the branch you are signed in to
- Network (default) - Searches all customers within your network
- All Branches - Searches customers from all branches in the system
- Scan, paste, or type the exact customer barcode or the name (either just the last name or the last and first name) of the customer into the Customer barcode box and click Search. The matching customer account opens.
Advanced searching
With the advanced search option, you can use additional fields to locate customer accounts. With this search option, multiple fields can be searched at once.
Search fields
The following fields can be searched in the Wise console.
Note: The Advanced search option supports partial searches in all fields except for Date of birth.
| Search field | Description |
|---|---|
| Last/Family |
The customer's last name. This field can also be used to search by Customer tag. Customer tags are defined in the Customer screen of the Wise console at Customer data > Personal. |
| First/Given/Personal | The customer's first name. |
| Date of Birth |
The customer's date of birth. Use the format MM/DD/YYYY, or select the date of birth using the calendar widget. Note: Partial searches are not supported in the Date of Birth field. The entire date must be entered to search. |
| Street number | The house number of the customer's home address. |
| Street name | The customer's home address street name. |
| City | The customer's city of residence. |
| Zip code | The customer's zip code. |
| Phone number |
The customer's phone number. Use the format (###) ###-#### Note: The phone number field can not be partially searched. The customer's full phone number must be typed to produce results. |
| The customer's email address. | |
| Customer ID |
The Customer ID is the fixed number by which the customer is saved in the Wise system. The Customer ID number is assigned by the system and cannot be changed. The Customer ID appears within the Wise client in the customer account at the top of the Customer administration screen in brackets to the right of the library card number. |
| State ID | State ID number. |
| Sector |
Check the box of the sector for which you want to search. This selection defaults to BIEB, but other sectors can be selected and searched.
|
| External number |
This field allows you to search by a customer's external number from a system outside of the library. (For example, a student ID number or card number from a different library system). |
View search results
If the search results in one customer, the customer account will automatically open. If there are multiple customers matching the search terms entered, the customer information will appear in a list below the search entry options.

The following information about each customer appears:
- Name
- Address
- City
- Postal code
- Phone
- Branch
Click the customer's name to view their account.
Modify search results
Search results can be modified and sorted from within the search results screen to easily find customer information.
Remove search terms
The search terms used to produce the results appear above the list of customers. To remove a search term to broaden your search results, click the blue X ( ) to the right of the search term.
Sort By
To adjust the order in which customers appear in the results list, use the Sort by option on the right side of the screen.
Additionally, customers can be sorted by clicking the top of each information column. For example, click Name to adjust the order of the customers by that field (A-Z or Z-A.)
Items per page
By default, 10 results appear per page. To view more results, click the downwards facing arrow next to Items per page and choose a different number of results.
Clear all
To remove all search terms from the page, click Clear all.